Ovidiu
How to Build a License Key System for your Webflow Site
Ledenafschriften nodig
https://www.memberstack.com/scripts/82-license-keys
Les
Kloonbaar

Why/When would you need to Build a License Key System for your Webflow Site?
- Put premium content behind a paywall.
- Sell eBooks, art, music, or anything else you can think of.
This guide will go through the steps required to build a license key system on your Webflow site and create gated content using Webflow, Memberstack, and Make.com.
When you’re finished, you’ll have created a way for your site members to purchase a license and get a key via email that they can use to get a one-time download that becomes unavailable after the first use.
This ensures that even if they share their account or refresh the download page, no one else will have access to the gated content after it’s been downloaded once. Similarly, the license key will also only work once.
Building a license key system for a Webflow site
To build a license key system on a Webflow site, we’re going to use MemberScript #82 – License Keys and Make.com scenarios. Follow the link to get the code you’ll need to add to your page and watch a video tutorial on how to set everything up.
Setting everything up on Make.com
If you don’t already have a Make.com account, go ahead and create one now.
After you’ve got your account, go ahead and download these JSON blueprint files to help you get started.
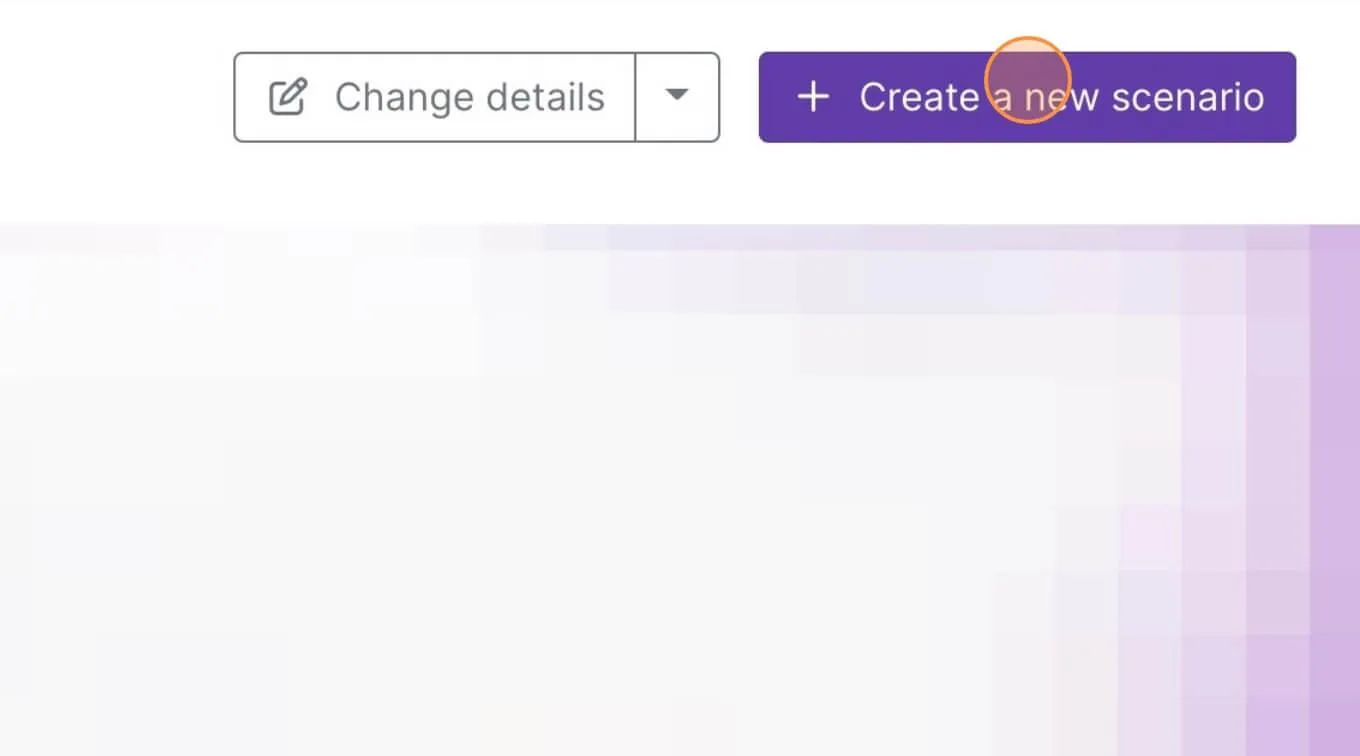
Once you’ve got the blueprint files, go to Make.com and select Create a new scenario.

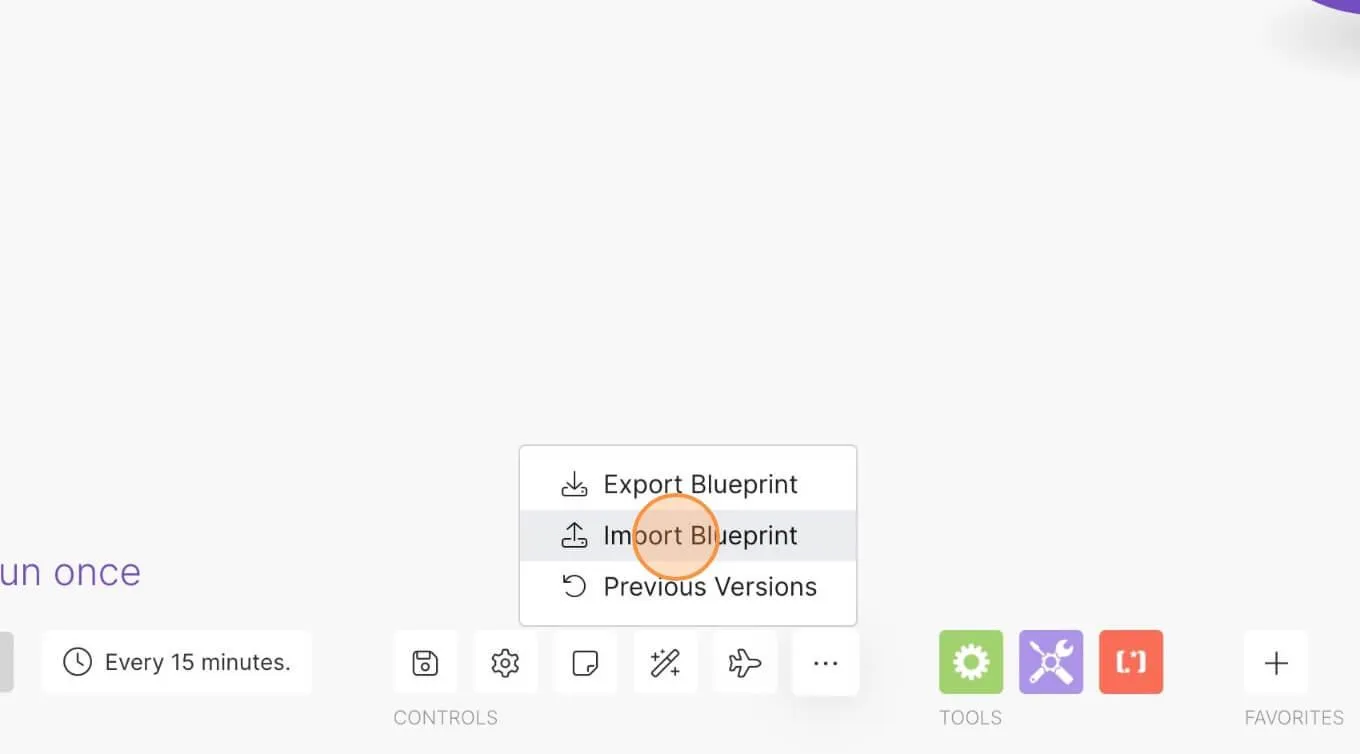
Next, click on the button with 3 small dots inside it and select Import Blueprint.

Select one of the blueprint files you downloaded earlier and you’re good to go.
Import both blueprint files to get the two scenarios you’ll need for this guide: one for key creation and one for key activation.
Key creation scenario
The first step in the creation scenario checks whether a member has a specific plan added to their account.
The second step retrieves the member’s ID and the third step adds a new row in a Google Sheets spreadsheet with 3 columns:
- a unique license key
- a status column (to show whether the key’s been used or not)
- the member’s email address
The fourth step in the Make.com scenario retrieves the key from the spreadsheet and the fifth step sends an email with that key to the member’s email address.
Key activation scenario
The activation scenario starts with a webhook that passes on the member’s email address, ID, and license key.
The second step in this scenario searches the spreadsheet from before’s rows for a specific member’s license key to see if it exists and if it matches the one they pasted in the form.
The third step is a router with two filters: one that returns an “invalid key” error if nothing was found in the previous step, redirecting them to a URL of your choice, and another one that takes us to step #4, which again has two filters:
- the first returns an “already activated” error if the key’s already been used (the “Active” status in the spreadsheet is set to “true”), redirecting to a URL of your choice.
- the second leads to the fifth step, which marks the key as active in the spreadsheet.
The sixth step adds a custom field to that member’s account in Memberstack which contains their license key, and the seventh step adds the appropriate plan to that member's account.
The eighth and final step just redirects the member to a success page.
When you’ve finished making all your changes, save the scenarios, make sure they’re turned on, and that’s everything we need to do on Make.com.
Alles instellen in Webflow
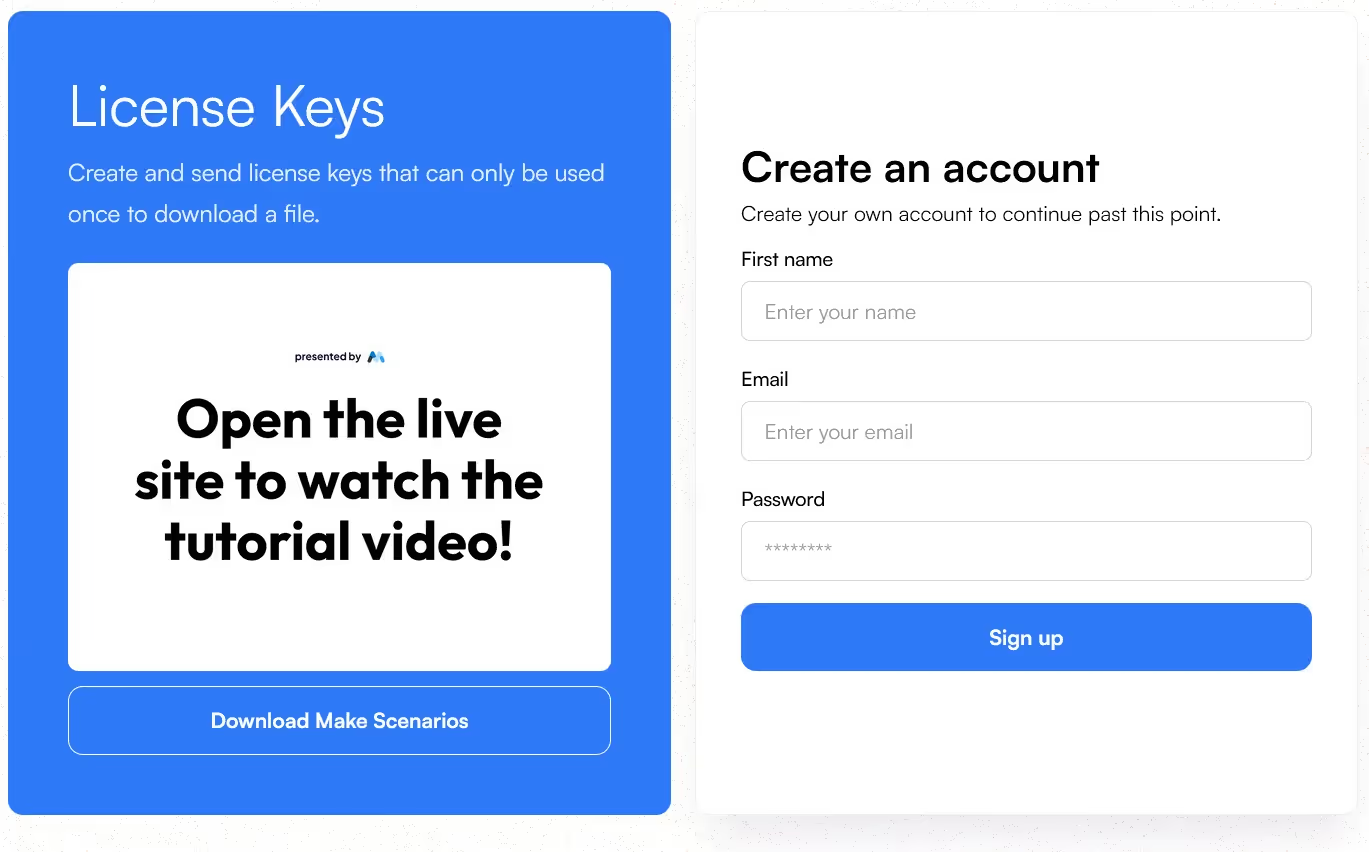
The first thing you’ll need to do is create your signup form and style it however you want.
Once that’s done, select the form and add the following attributes to it:
- form data-ms-form=”signup”
- data-ms-plan:add=”VALUE”
The second attribute’s value needs to be the plan ID you have set up in Memberstack under Plans.
Next you have your second form that the first one redirects to, where members are supposed to paste in their license key.
Select the form and under Form settings in the Webflow side panel you’ll see the Action field. That’s where you need to paste in the webhook URL from the second Make.com scenario’s first step that we talked about earlier and select POST as the method.
Next up, add that same URL in the Action field for the form’s license key field as well and select POST.
This form will also require two hidden text inputs, one for the member’s email address and one for their ID.
Create those two input fields, add the same URL as above in the Action field for each of them, select POST, set the fields to hidden, and add the following attributes accordingly:
- data-ms-member=”email”
- data-ms-member=”id”
Now we’re onto the final page that contains the third form.
Here you’ll need to create a download button that disappears after it’s been used once.
To do this, create a button, link it to a file and have it open in a new tab, then go on the live site and inspect that button. Copy its HTML code, go back to Webflow, and delete the button.
Now go to Memberstack under Gated Content and add your content, selecting the appropriate plan. Under Hosted Content you’ll need to add HTML-type content, name it and paste in the button HTML code you copied earlier before you deleted the button.
Finally, go back to Webflow and add an empty div block where the download button used to be and add the following attribute to it:
- data-ms-secure-html=”VALUE”
The value needs to be the name of the gated content you added in Memberstack, separated by hyphens if it contains multiple words (e.g. “download-button”).
Making it all work
Now that you’ve got your form and your buttons set up and you’ve added the appropriate attributes, all you need to do is add the MemberScript #82 custom code to the final success page (where the download button is), before the closing body tag.
The only things you’ll need to change in the code are your plan’s ID (you can get it from your Memberstack dashboard under Plans) and the download button’s ID (it needs to match the value of the empty div block we used earlier).
What this code does is remove the plan from their Memberstack account once they click that button so that they can’t download the file again.
Conclusie
That’s all you need to do; you can now go ahead and test everything on your live site.
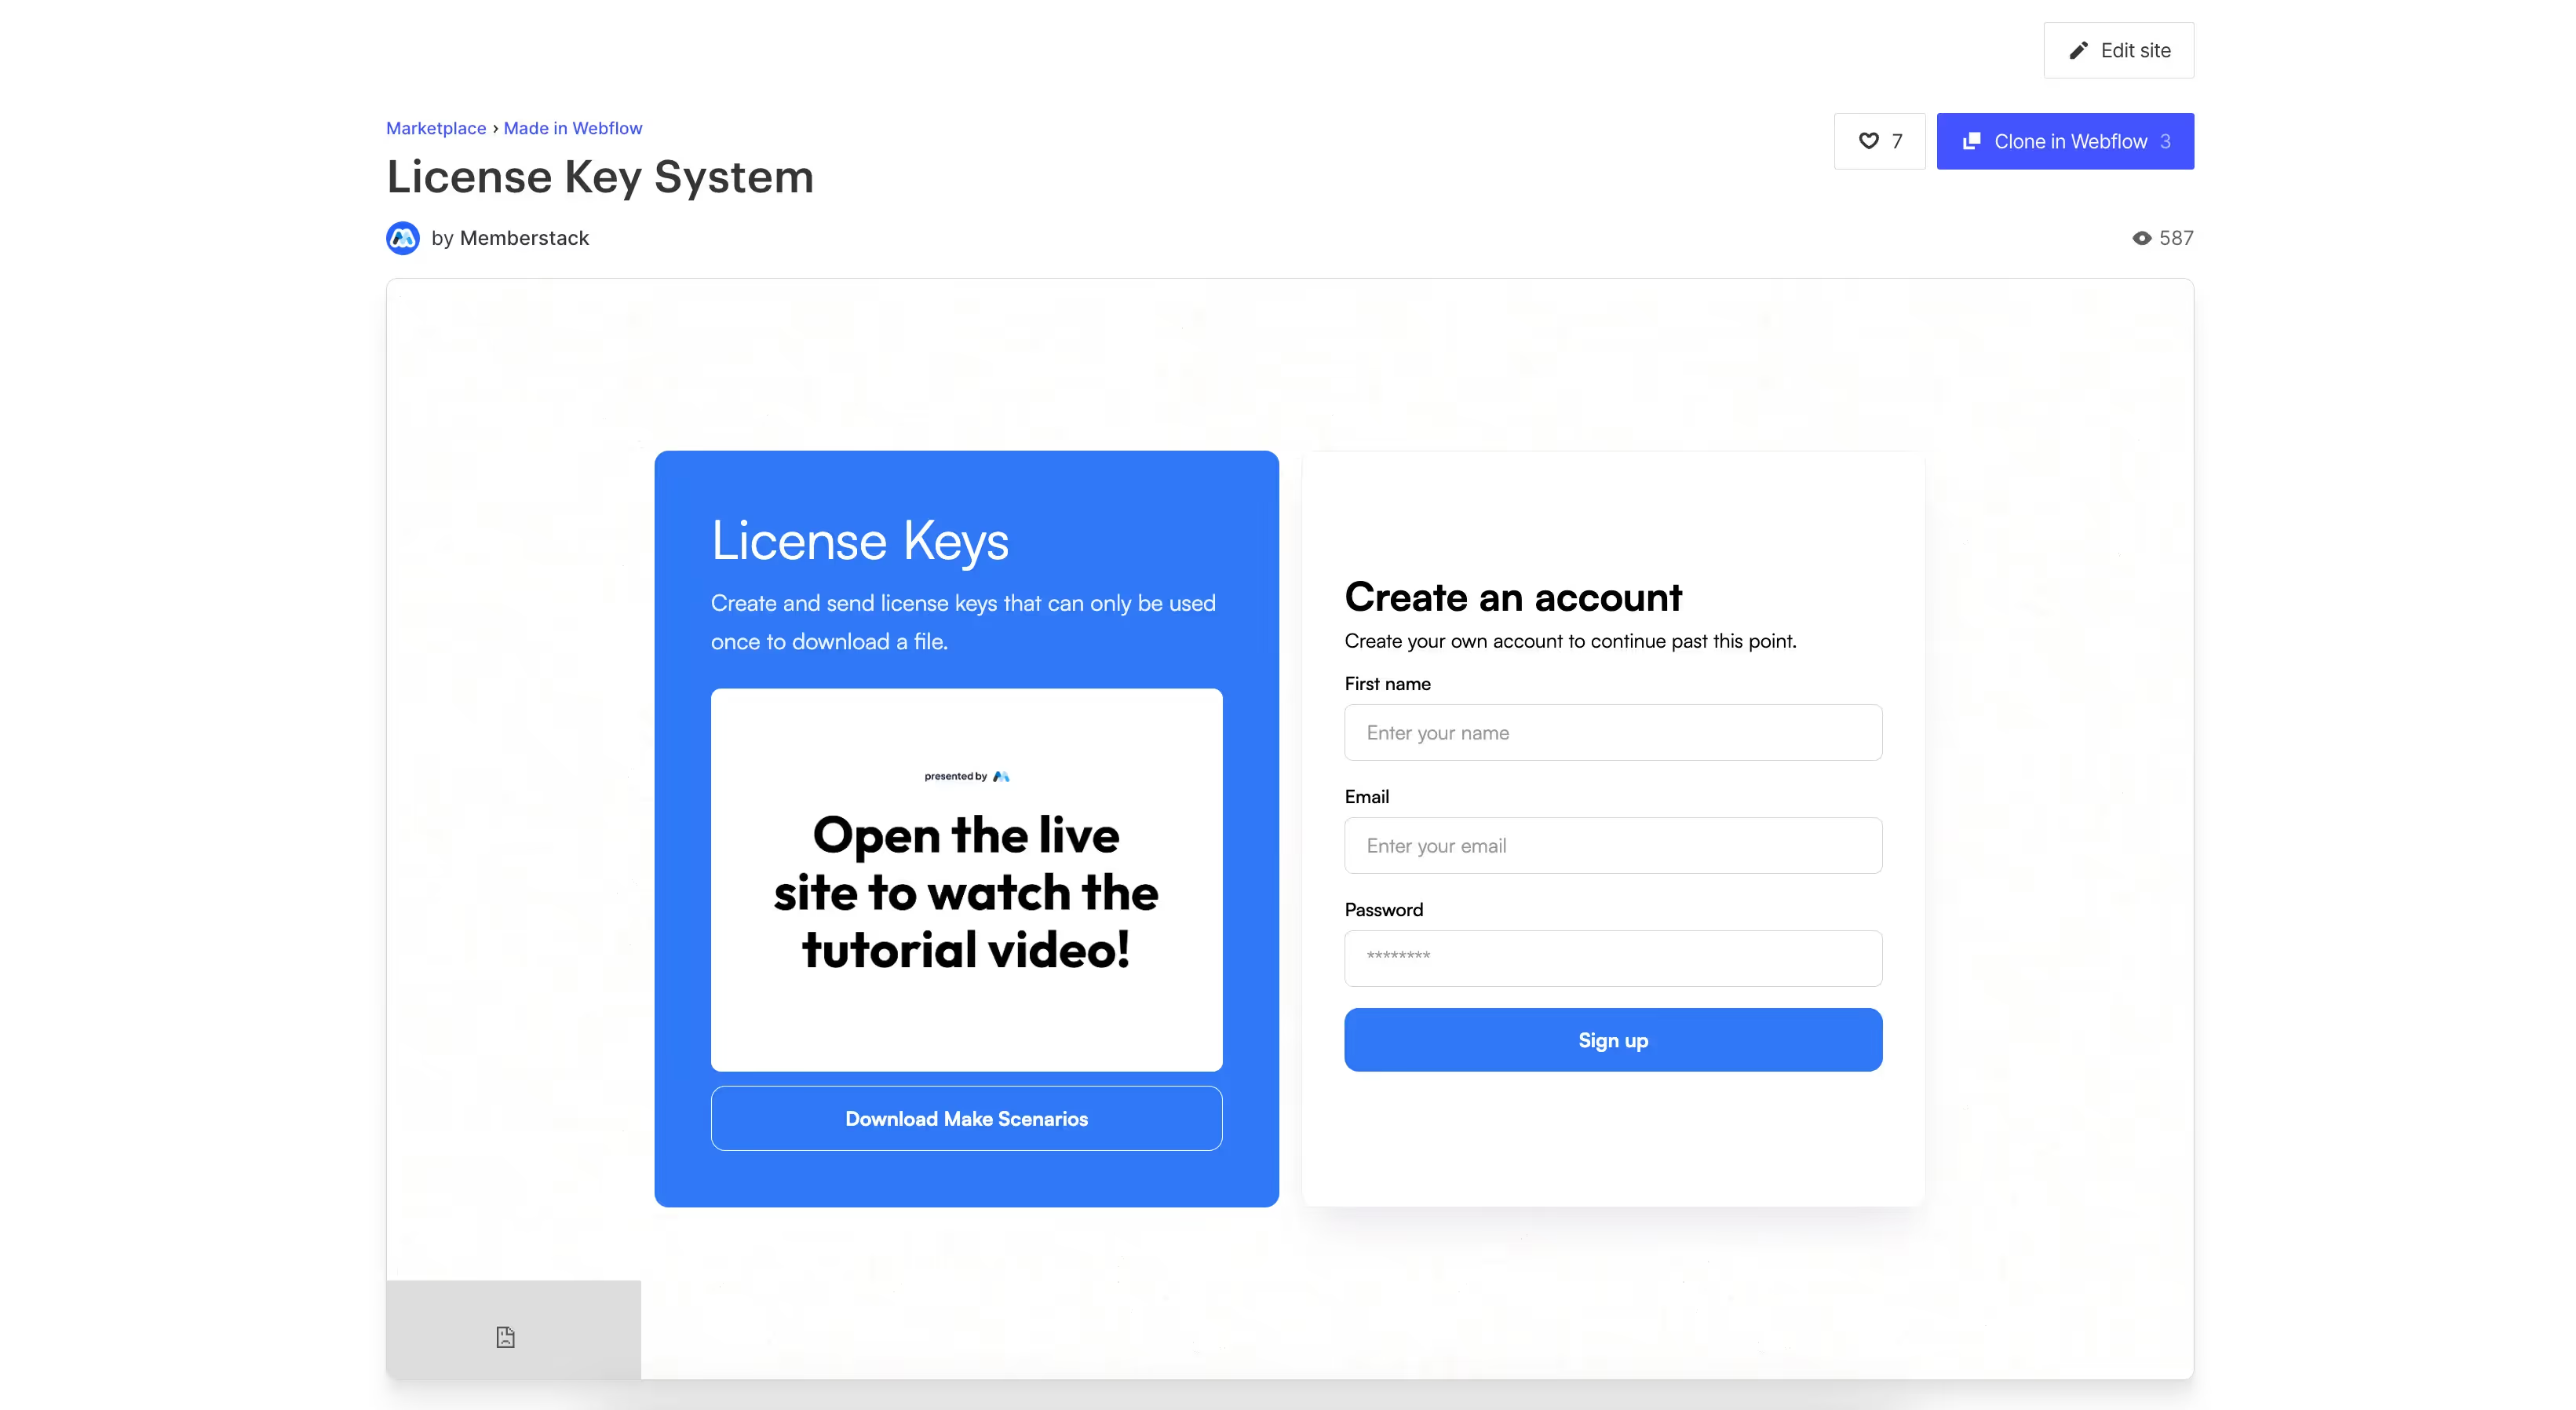
Als u ons demoproject wilt gebruiken om u op weg te helpen, klikt u op de knop hieronder om het aan uw Webflow site toe te voegen.

Our demo can help you build a working system to create and send license keys which can only be used once. It also contains a link to the Make.com blueprints for the scenarios mentioned earlier.
Take me to the Scripts
Voeg in enkele minuten lidmaatschappen toe aan uw Webflow-project.
Meer dan 200 gratis kloonbare Webflow componenten. Aanmelden is niet nodig.
Voeg in enkele minuten lidmaatschappen toe aan uw React-project.

.webp)


.png)
