Ovidiu
How to Build an Auto-fill Address Input on your Webflow Form
Memberscripts needed:
Tutorial:
Cloneable:
https://webflow.com/made-in-webflow/website/address-autocomplete

Why/When would you need to build an auto-fill address input on your Webflow form?
- Improve the user experience by saving users time when filling in their addresses with auto-filling fields.
If your users need to fill in their addresses on your site, you can make things a lot quicker and easier for them by auto-filling the address fields.
We’re going to take a look at how you can do just that using the Google Places API. This means you’ll need to have a Google Cloud Console account where you’ll need to have the Google Places API enabled. You’ll then get an API key which we’ll talk about adding to your site a bit later.
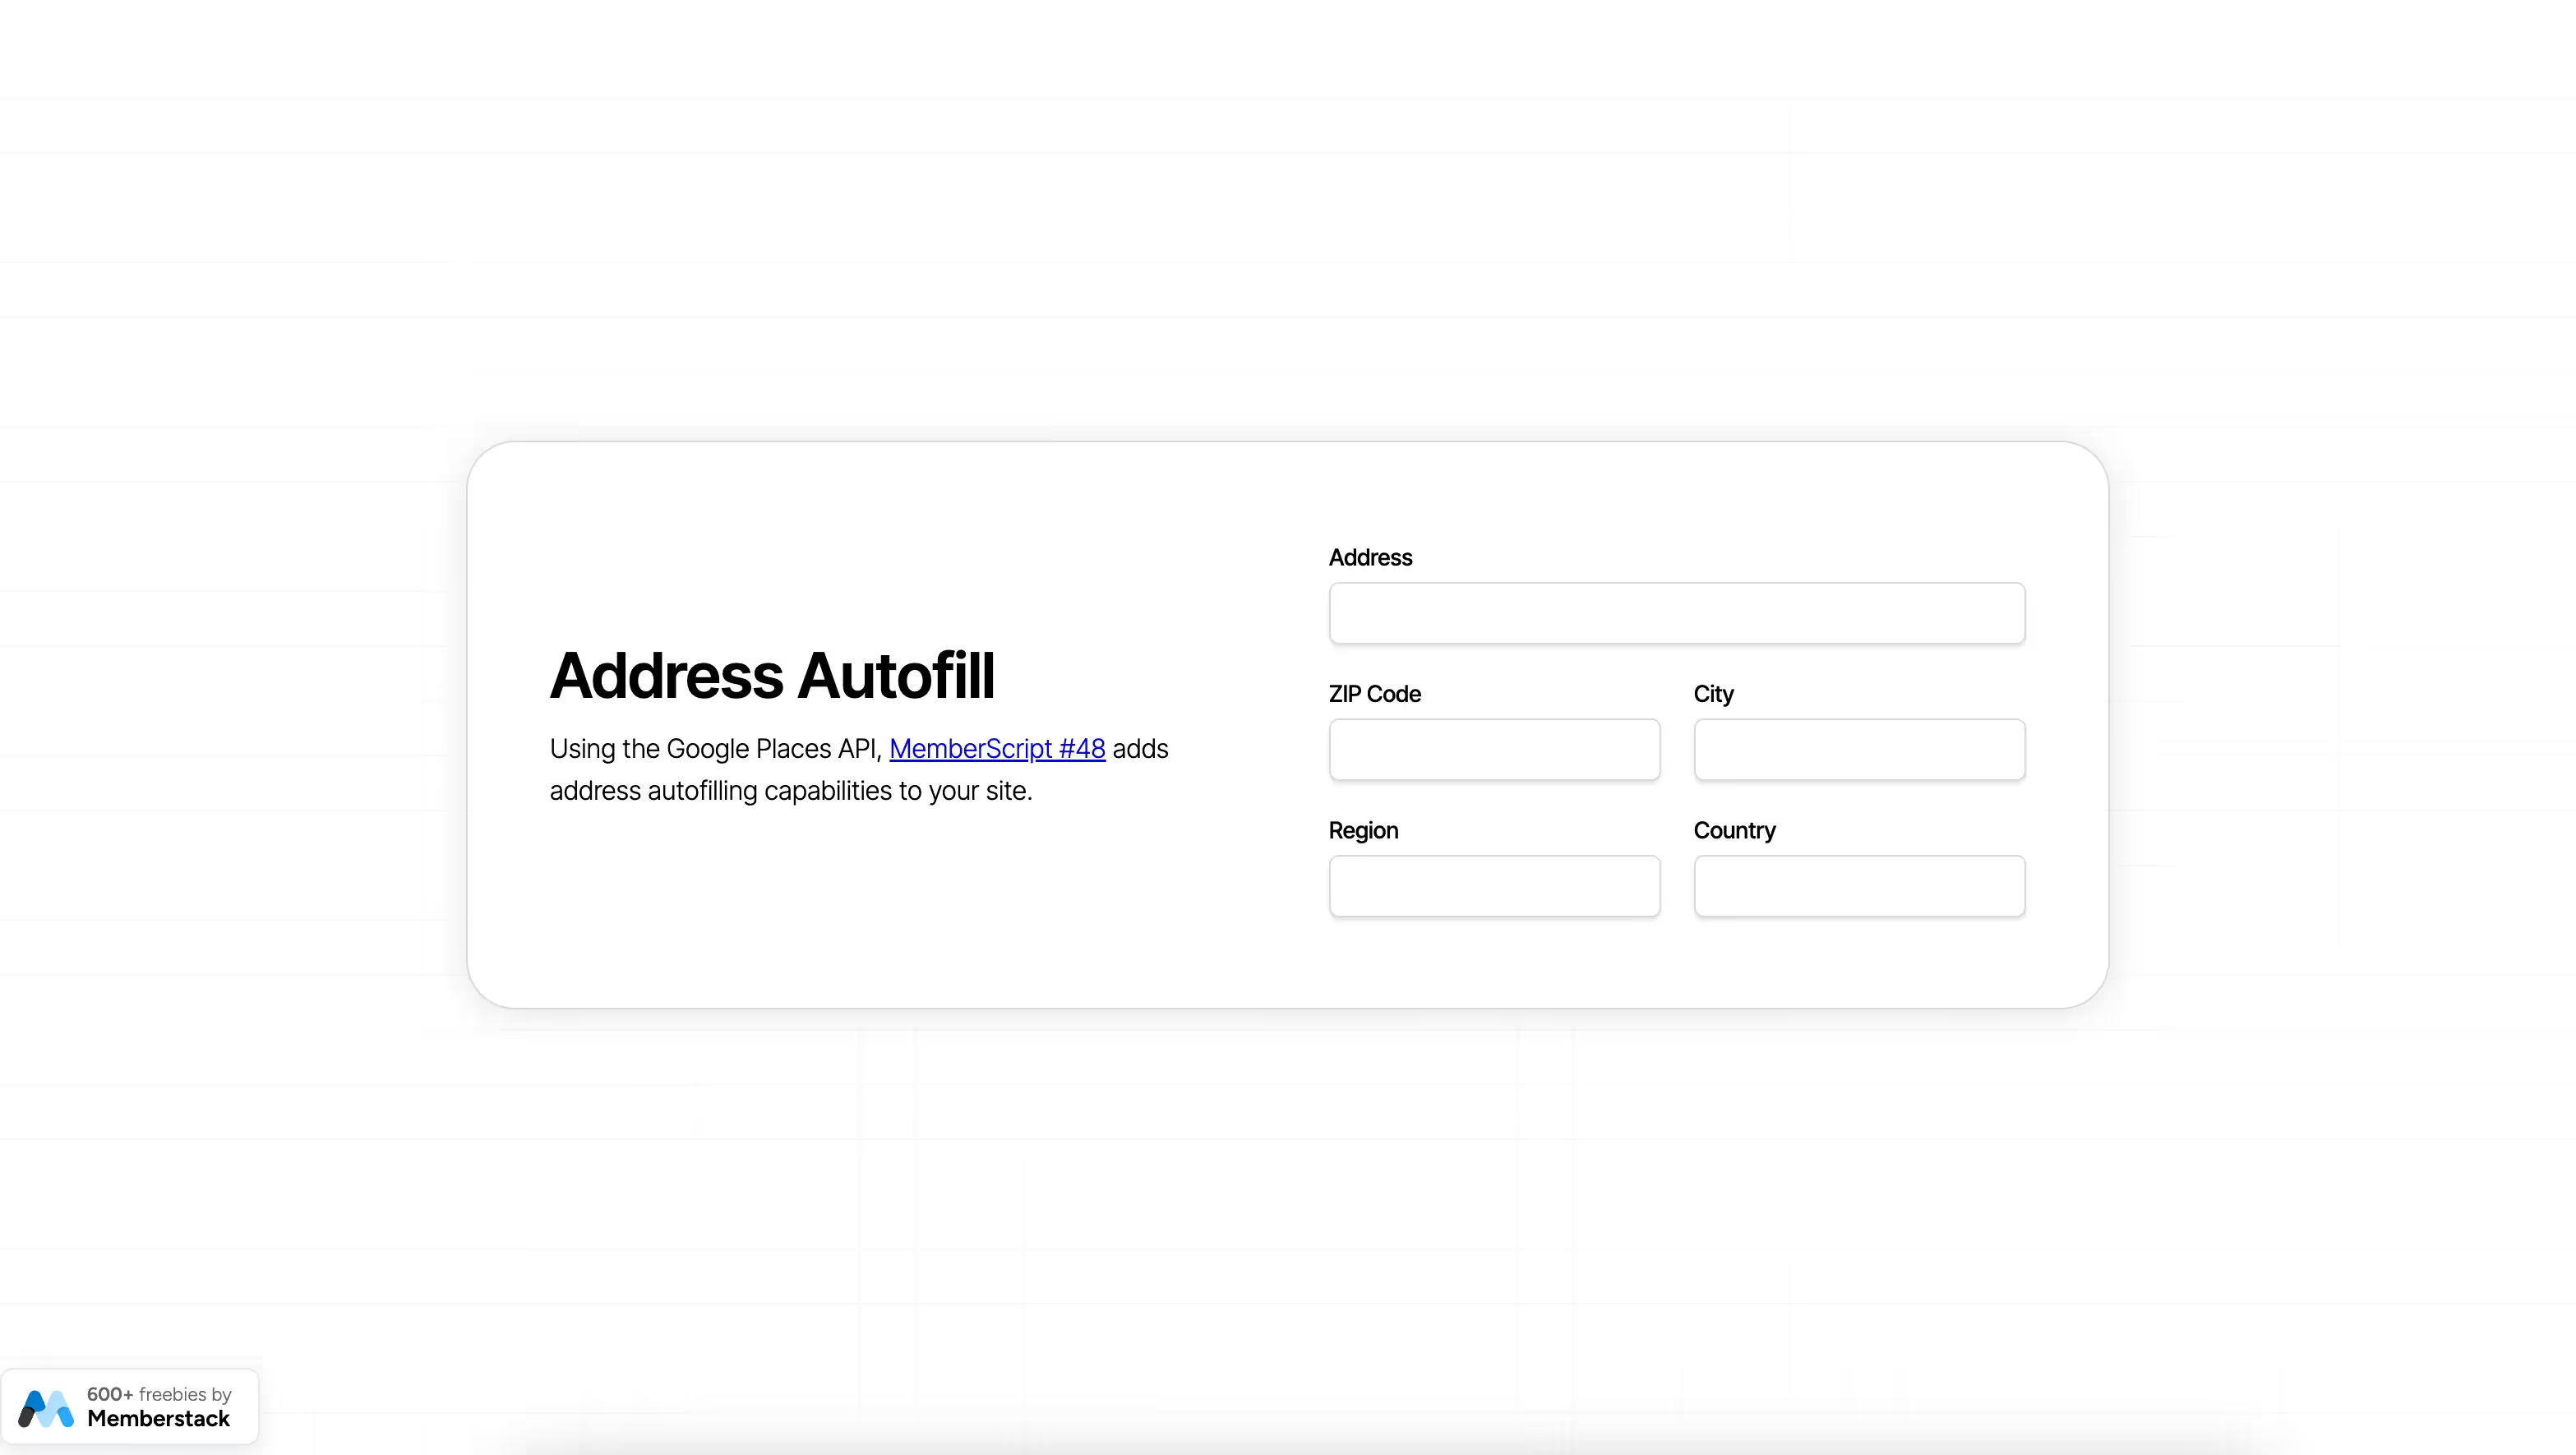
The form we’re building will allow users to start typing their addresses and a list will pop up with matching addresses. Once they select their address from the list, the form will auto-fill the rest of the fields.
Building an auto-fill address input in Webflow forms
To add an auto-fill address input to a Webflow form, we’re going to use MemberScript #48 – Autocomplete address inputs. Follow the link to get the code you’ll need to add to your page and watch a video tutorial on how to set everything up.
Setting it up
The first thing you’ll need to do is build out the form itself and style it however you want.
Next up, select each input field and add the corresponding attribute to it:
- ms-code-input=”address”
- ms-code-input=”postal-code”
- ms-code-input=”city”
- ms-code-input=”region”
- ms-code-input=”country”
Het laten werken
Now that you’ve got the form set up, all you need to do is add the MemberScript #48 custom code to your page.
For this MemberScript, we’ve got two pieces of code, one that goes before the closing head tag and another that goes before the closing body tag. Be sure to paste them in the right places!
By default, the custom code that goes in the body of your site will limit the autofill functionality to addresses in the US, and it does this through this line of code:
- componentRestrictions: { country: [ ‘US’ ] }
You can either add countries using ISO standard two-letter country codes, or you can delete this line entirely to have it search for matching addresses worldwide.
We also mentioned earlier an API key which you’ll need to add to the custom code that you placed in the head of your site, replacing “YOUR-API-KEY.”
Conclusie
That’s everything, you can now go ahead and test your form’s address autofill functionality.
Als u ons demoproject wilt gebruiken om u op weg te helpen, klikt u op de knop hieronder om het aan uw Webflow site toe te voegen.

Our demo can help you add an address auto-fill feature to your Webflow form using the Google Places API.
Take me to Script!
Voeg in enkele minuten lidmaatschappen toe aan uw Webflow-project.
Meer dan 200 gratis kloonbare Webflow componenten. Aanmelden is niet nodig.
Voeg in enkele minuten lidmaatschappen toe aan uw React-project.

.webp)


.png)
