

Ovidiu
How to Create a Plan Selector Field in Webflow?
Ledenafschriften nodig
Les
Kloonbaar
Why/Use Cases
Offer visitors a simple way to pick between multiple membership plans or any other type of options you have on your form.
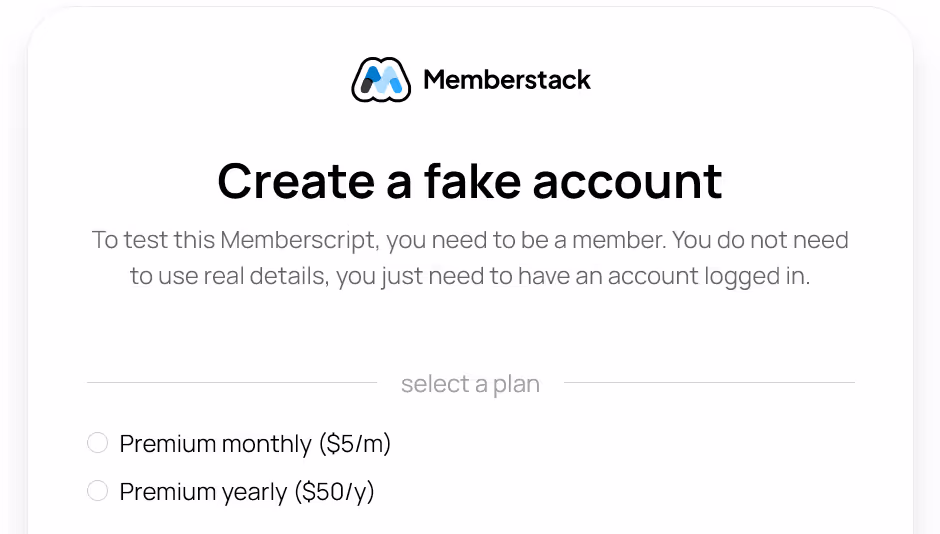
Whether you need your users to pick a membership plan or any other type of option in a Webflow form, this guide will help you add simple and familiar radio buttons to any form.
Adding a plan selector field to a Webflow form
To add a plan selector field to a Webflow form, we’re going to use MemberScript #107 – Select Plan with Radios. Follow the link to get the code you’ll need to add to your page and watch a video tutorial on how to set everything up.
Setting it up
Go ahead and create and style your form however you like. Once you’re done, add the following attributes to the form itself:
· ms-code-radio-plan=”form”
· data-ms-price:add=””
· data-ms-form=”signup”
Now select the div block that houses your radios and add the following attribute to it:
· ms-code-radio-plan=”radio-group”
Next, select each radio itself and name the group “Plan” under Radio Button Field settings in the side panel.
Now under Choice Value you need to add the plan’s ID. To get your plan’s ID, go to the Memberstack dashboard, select Plans in the left panel, then the plan itself and click on Install & Publish in the upper right corner.
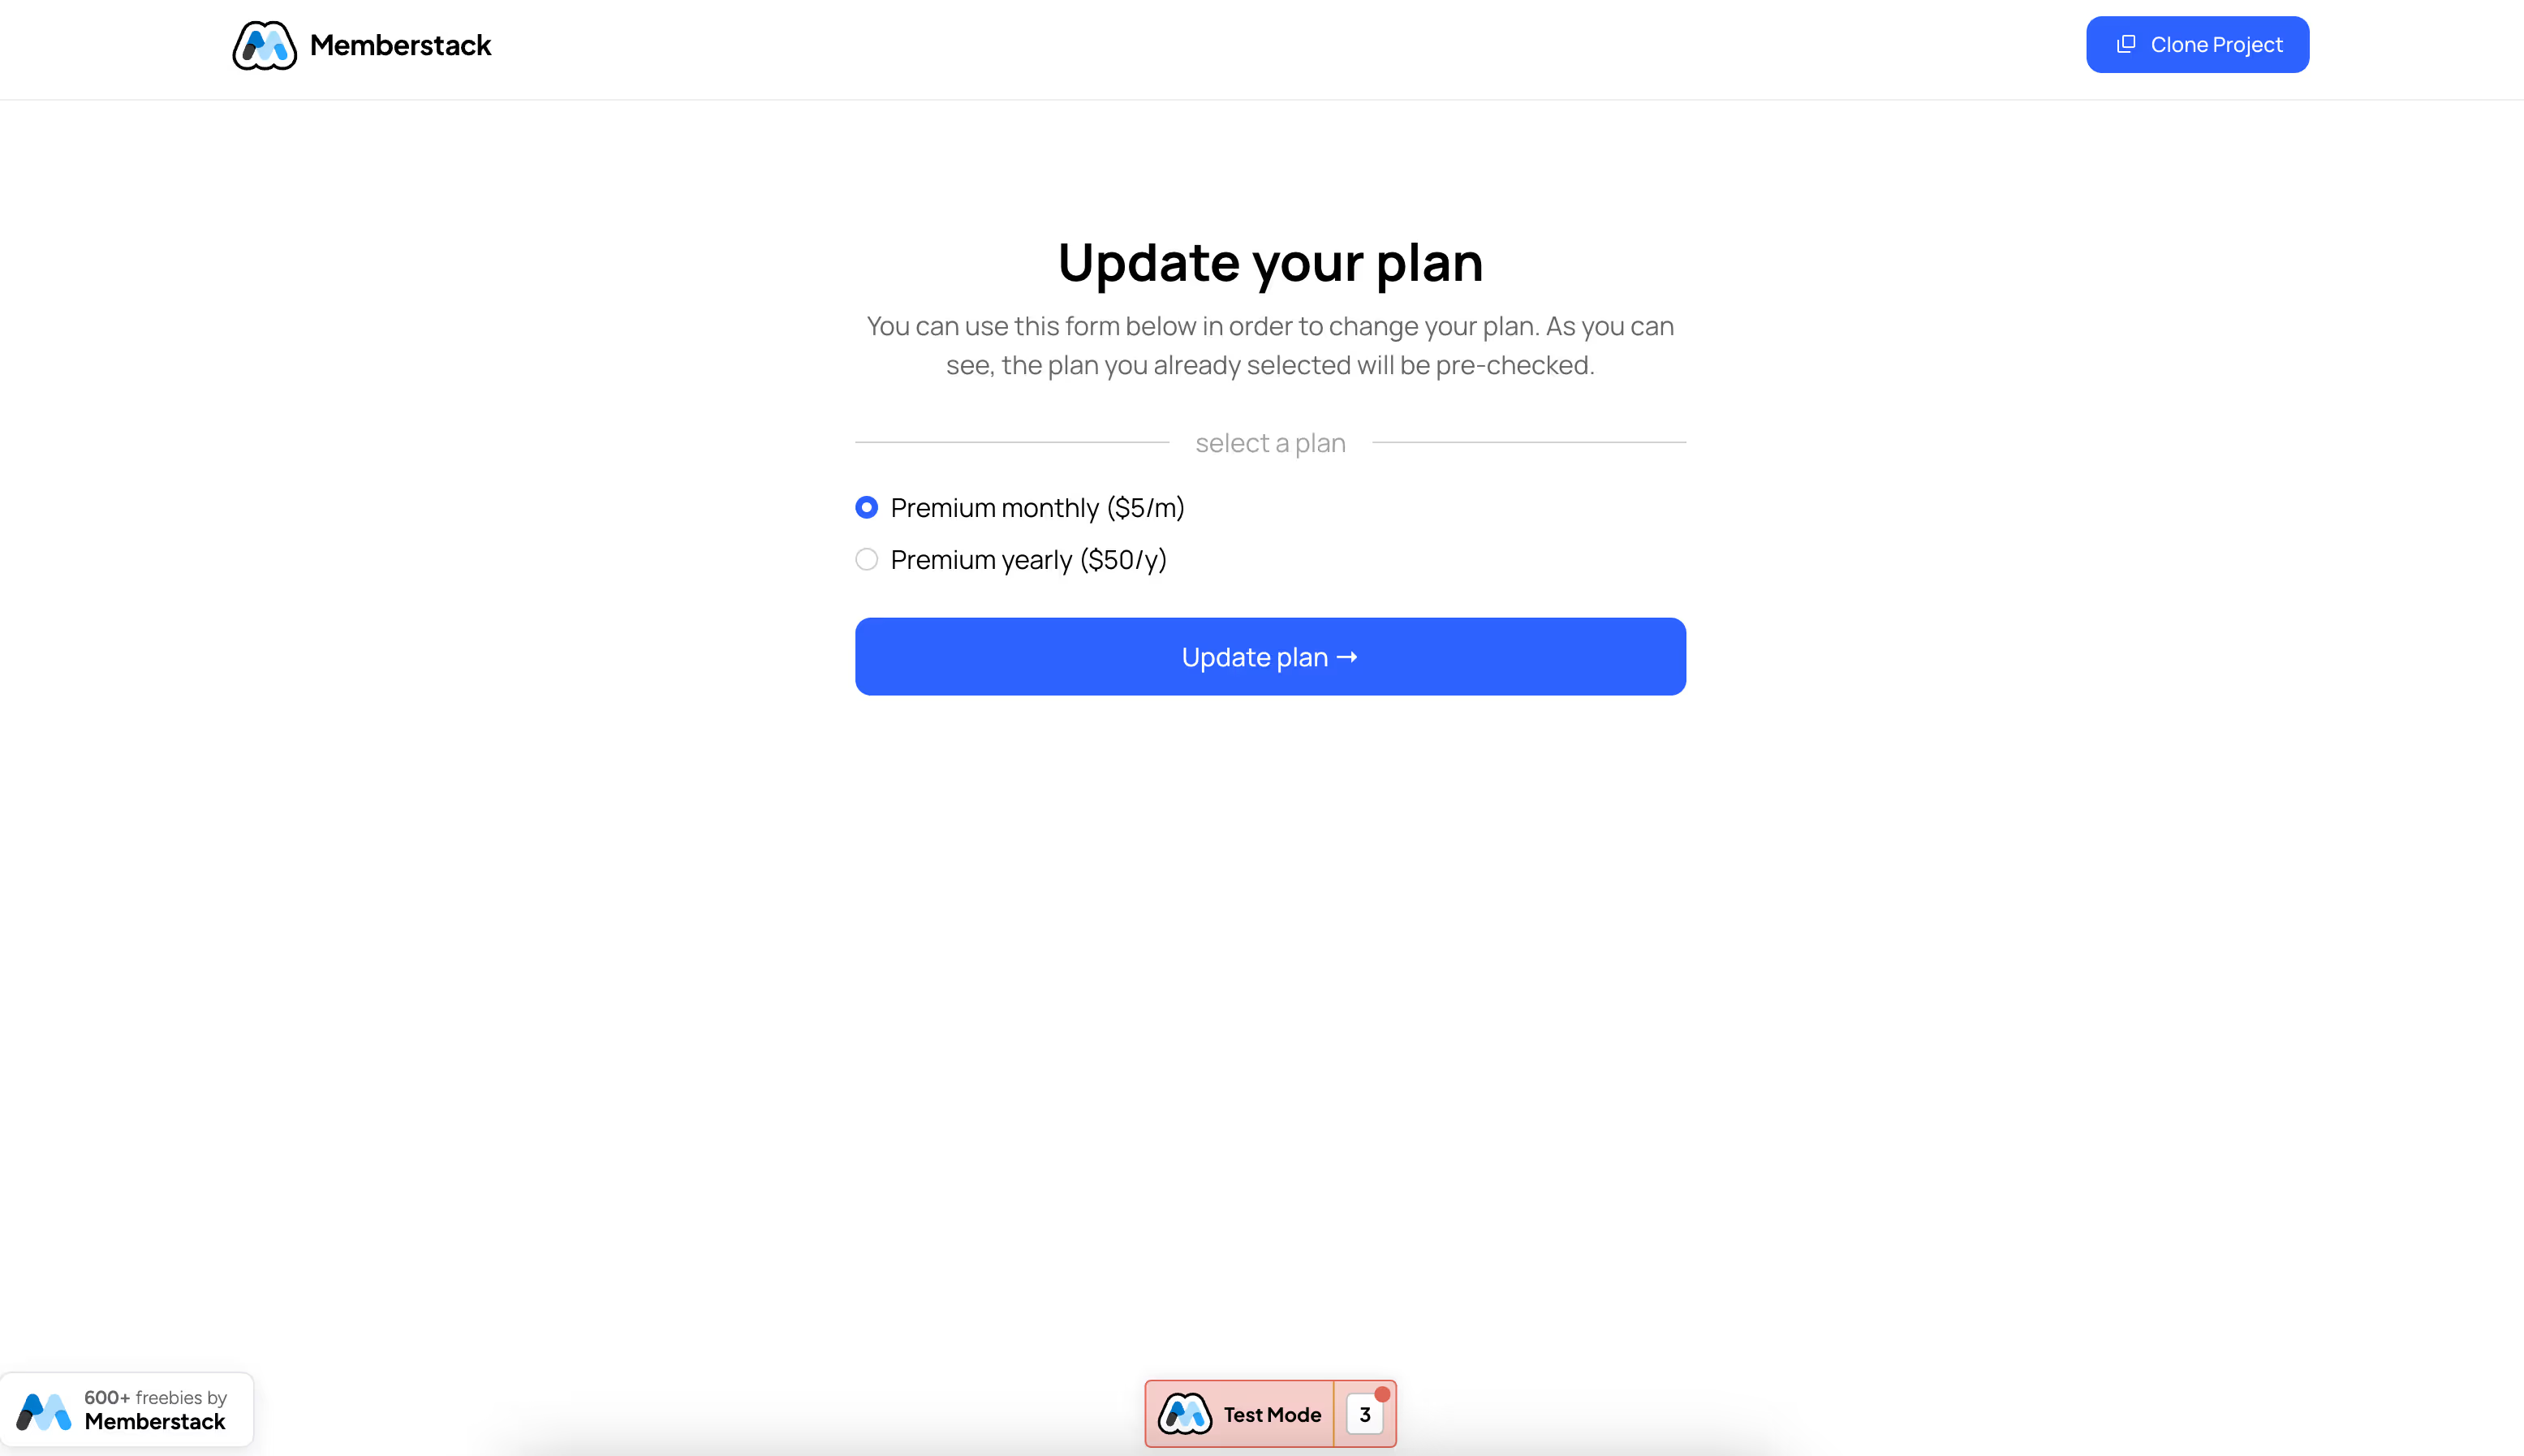
That’s it for the signup form, but if you want to add an additional form on the page to allow your users to switch plans, you’ll need to create it and add the same options from the signup form.
Once that’s done, add the following attribute to the form:
· ms-code-radio-plan=”form”
Next, add the same attribute to the div block housing the radios as before and also the same attributes to each individual radio button.
Finally, add the following attribute to the form’s button:
· data-ms-price:update=””
Het laten werken
Now that you’ve got everything configured and your form’s set up in Webflow, all you need to do is add the MemberScript #107 custom code to your page, before the closing body tag.
You’ll notice that the code is split into two parts, the first is needed for the initial signup form that your users are going to fill out and if you’ve got an additional form on the page to allow them to switch plans after the fact, you’ll need the second part of the code as well.
If you just don’t feel like fiddling in any way with the code, you can just copy it in its entirety. It might be the better choice just in case you do decide to add an additional plan selector on the page at a later date.
Conclusie
That’s everything, you can now go ahead and test your form with the plan selector fields on the live site.
Als u ons demoproject wilt gebruiken om u op weg te helpen, klikt u op de knop hieronder om het aan uw Webflow site toe te voegen.
Our demo can help you create a Webflow form with a plan selector field and an additional form to allow users to change their initial choice.
Button – Get cloneable
Voeg in enkele minuten lidmaatschappen toe aan uw Webflow-project.
Meer dan 200 gratis kloonbare Webflow componenten. Aanmelden is niet nodig.
Voeg in enkele minuten lidmaatschappen toe aan uw React-project.
.webp)


.png)

