Ovidiu
How to Make a Custom Styled File Input in Webflow
Ledenafschriften nodig
https://www.memberstack.com/scripts/99-custom-file-inputs
Les
Kloonbaar
Why/When Would you need to Make a Custom Styled File Input in Webflow?
- Replace the default HTML file input with one that is more in line with your site’s design.
- Improve your UI with a nicer looking HTML file input.
As you’re probably well aware, you can’t style HTML file inputs in Webflow.
However, this guide will show you how to work around that limitation and use a custom-styled file input which is a better fit for your site’s design.
Keep in mind that just creating this custom styled file input won’t allow you to pass files through your form. For that, check out Memberscript #97 for uploading to an S3 bucket or this demo for uploading to Google Drive.
Making a custom-styled file input in Webflow
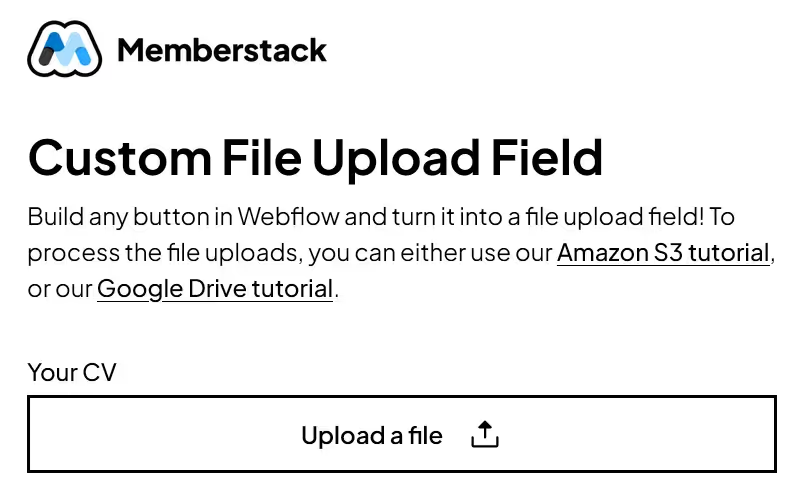
To make a custom-styled file input in Webflow, we’re going to use MemberScript #99 – Custom File Inputs. Follow the link to get the code you’ll need to add to your page and watch a video tutorial on how to set everything up.
Setting it up
The first thing you’ll need to do is create a button and style it however you want.
Make sure there is a text block inside it as this text will change to show the name of the file your users have selected.
Select the text block and add the following attributes to it:
- ms-code-file_uploader=”cv” – you can just replace “cv” with whatever you want the name of the file input to be.
- ms-code-file_types=”application/pdf,image/png” – you can use any MIME types you want depending on the type of files you expect from your users. These essentially restrict the file types that users can upload.
Het laten werken
Now that you’ve got your custom button and you’ve added the appropriate attributes, all you need to do is add the MemberScript #99 custom code to your page, before the closing body tag.
Conclusie
That’s everything, you can now go ahead and test your custom styled file input on your live site.
Als u ons demoproject wilt gebruiken om u op weg te helpen, klikt u op de knop hieronder om het aan uw Webflow site toe te voegen.

Our demo can help you add a custom styled file input on your website to better match the rest of its design.
Take me to the Scripts
Voeg in enkele minuten lidmaatschappen toe aan uw Webflow-project.
Meer dan 200 gratis kloonbare Webflow componenten. Aanmelden is niet nodig.
Voeg in enkele minuten lidmaatschappen toe aan uw React-project.

.webp)


.png)
