Ovidiu
How to Set a Link to its Current State when on a Folder Page (Webflow)
Ledenafschriften nodig
https://www.memberstack.com/scripts/88-show-current-state-for-cms-folder-links
Les
Kloonbaar

Why/When would need to Set a Link to its Current State when on a Folder Page?
- Highlight navigation links even when you’re on nested pages below them.
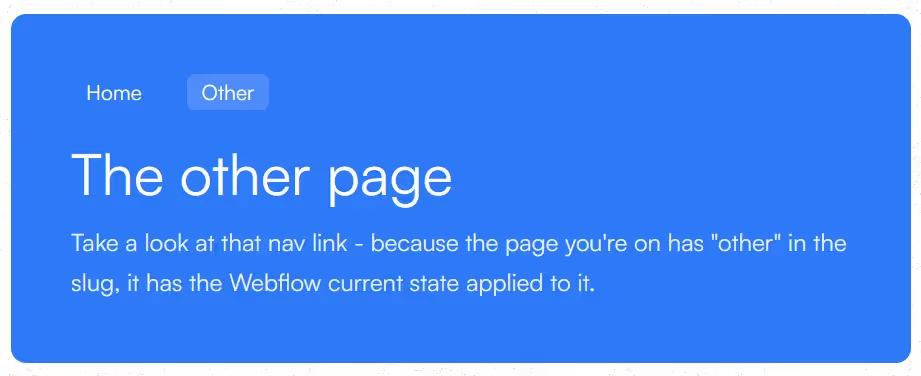
This guide will help you set links in the navigation menu to their “current” state even when you’re on nested pages below them.
For example, if a visitor is on /blog/post, and your Blog link in the nav menu is going to /blog, you’ll make it so that the Blog link still has the “current” state applied.
Setting a link to its “current” state on Webflow
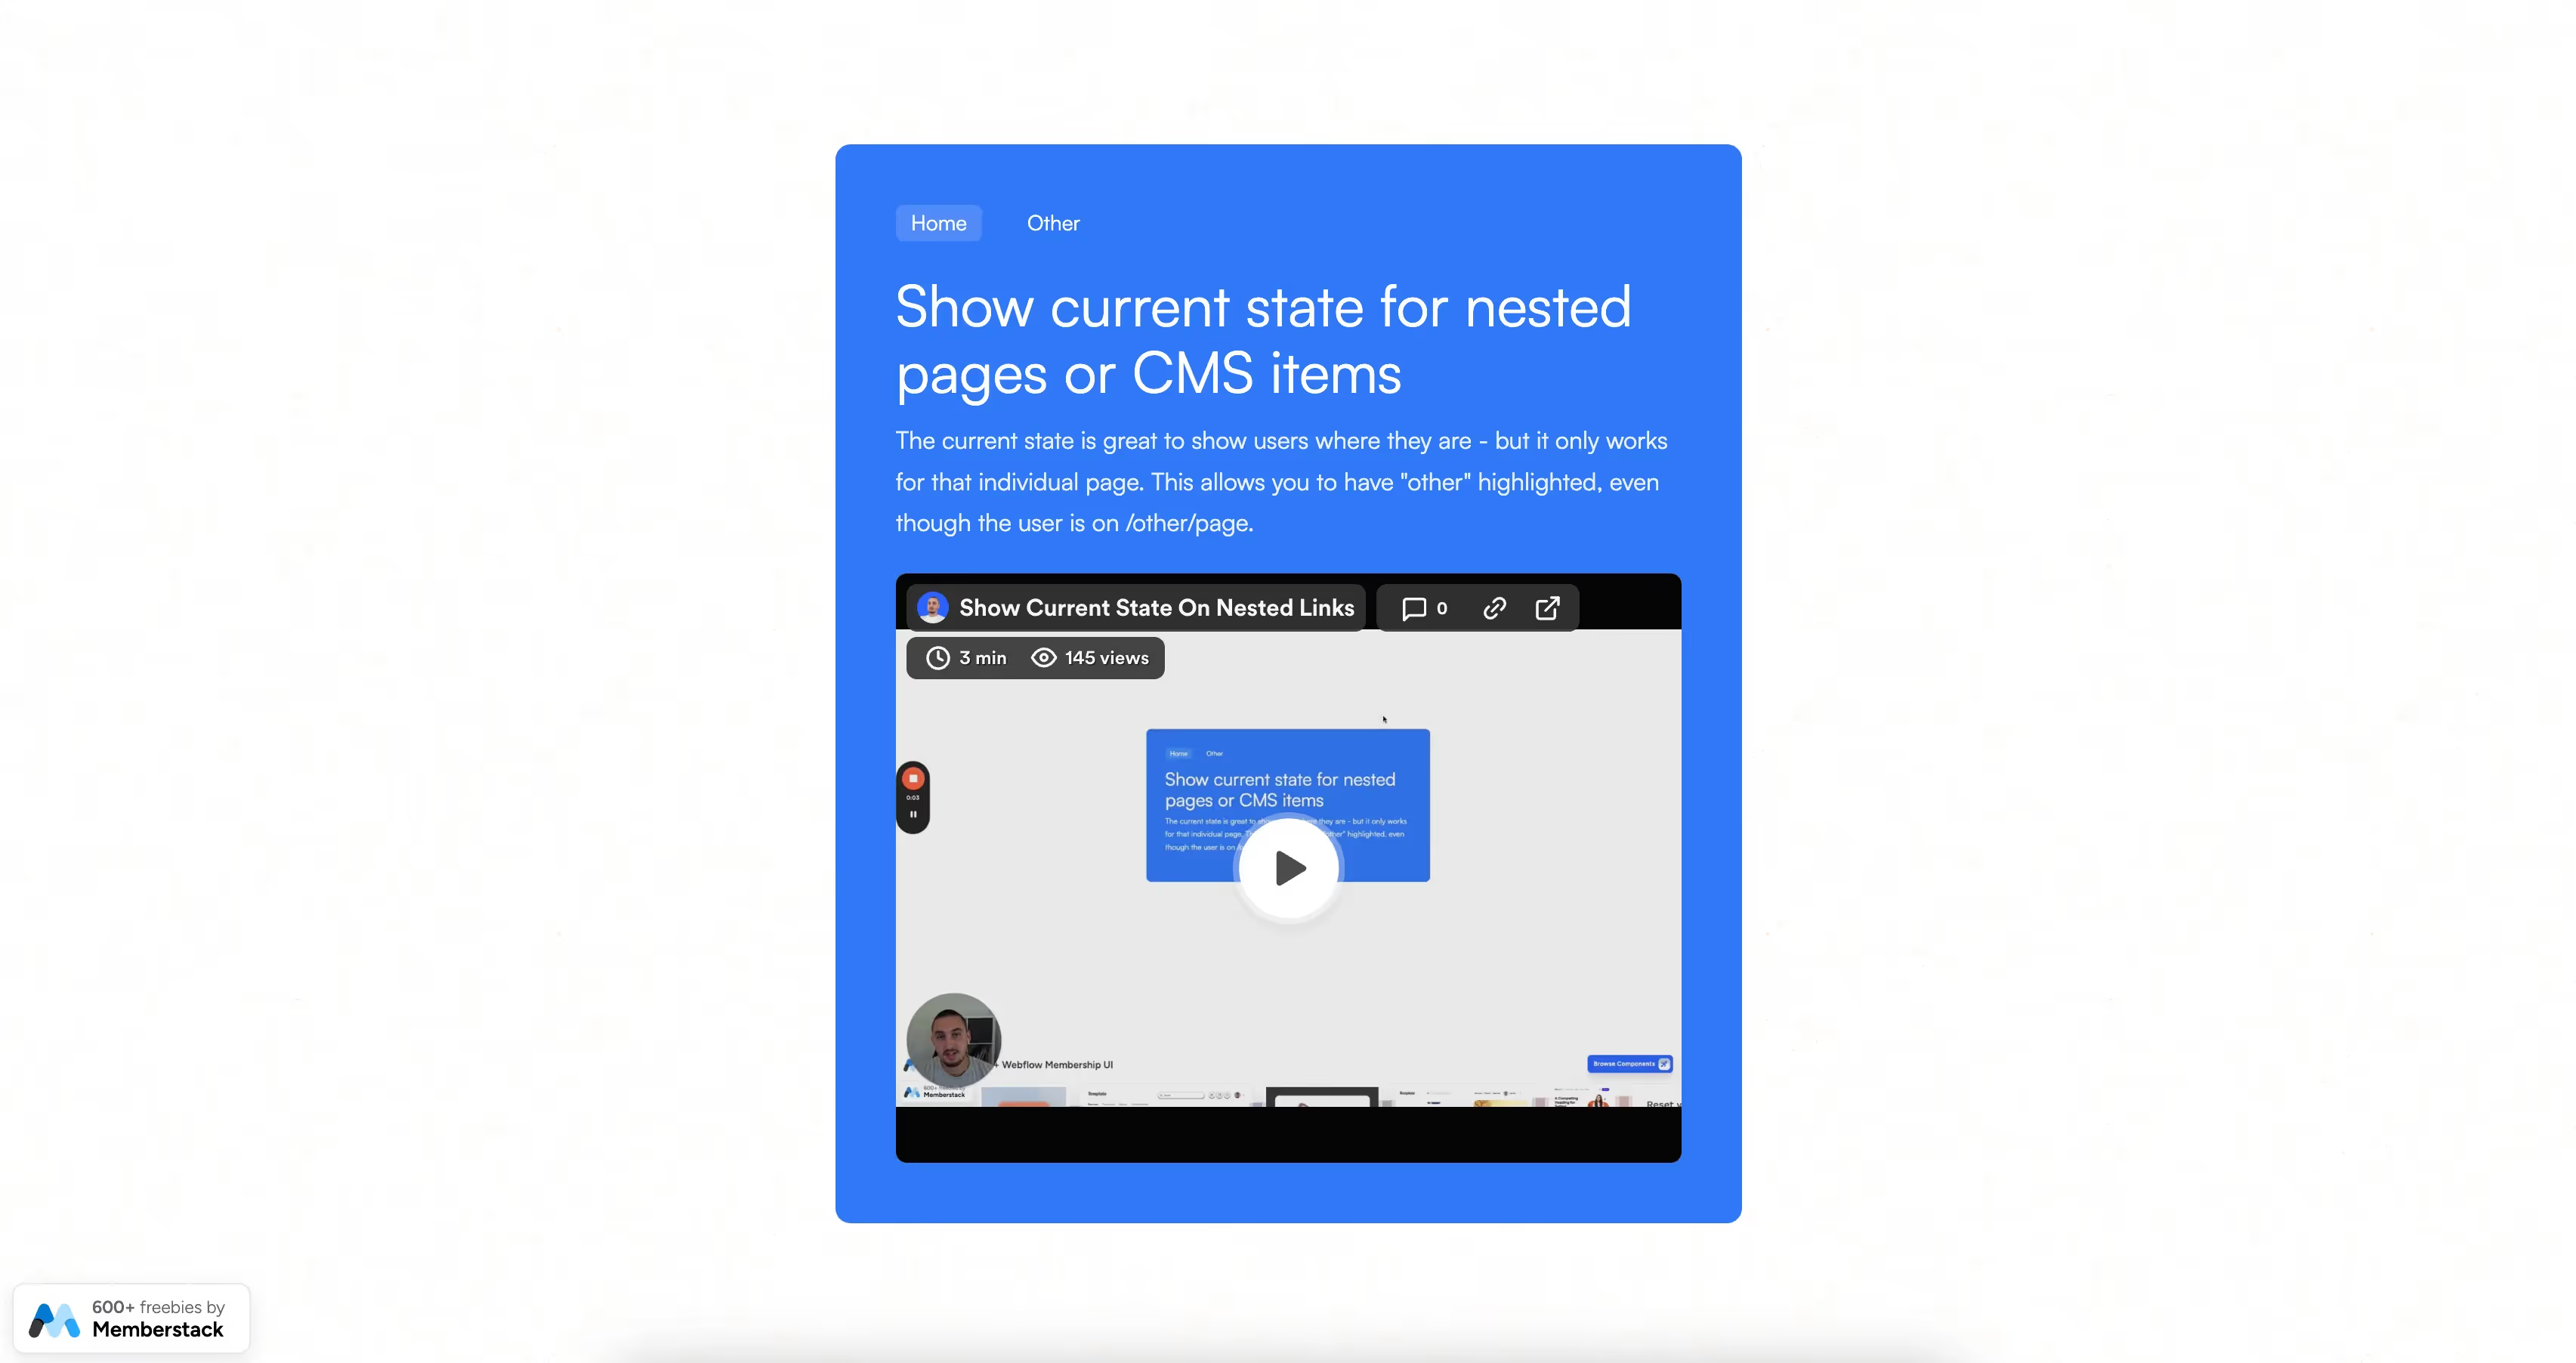
To set a link to its “current” state on your Webflow site, we’re going to use MemberScript #88 – Show Current State for CMS, Folder Links. Follow the link to get the code you’ll need to add to your page and watch a video tutorial on how to set everything up.
Setting it up
All you need to do is go to your navigation menu, select the links you want to have a “current” state even when on nested pages below them, and add the following attribute to them:
- ms-code-nested-link=”/SLUG/”
Just replace “SLUG” with the slug from the root page. For example, if visitors are on an individual blog post with a URL that looks like URL.com/blog/post and you want the Blog navigation link to be highlighted, just put in “/blog/” as the attribute’s value.
That will make it so whenever visitors are on a nested page below /blog/, the Blog nav link will always be set to its “current” state.
Het laten werken
Now that you’ve got everything set up, all you need to do is add the MemberScript #88 custom code to your site by going to your site’s settings in the Webflow dashboard and pasting it in the head section under the Custom code tab.
Conclusie
That’s all there is to it, you can now go ahead and test the navigation links on your live site.
Als u ons demoproject wilt gebruiken om u op weg te helpen, klikt u op de knop hieronder om het aan uw Webflow site toe te voegen.

Our demo can help you easily display the Webflow “current” state on links even when you’re on nested pages below them.
Take me to the Scripts
Voeg in enkele minuten lidmaatschappen toe aan uw Webflow-project.
Meer dan 200 gratis kloonbare Webflow componenten. Aanmelden is niet nodig.
Voeg in enkele minuten lidmaatschappen toe aan uw React-project.

.webp)


.png)
