
Automatically launch the checkout if a member selects a price before logging in.
Het Make.com-scenario maken
1. Download de JSON blauwdruk hieronder om het te leren.
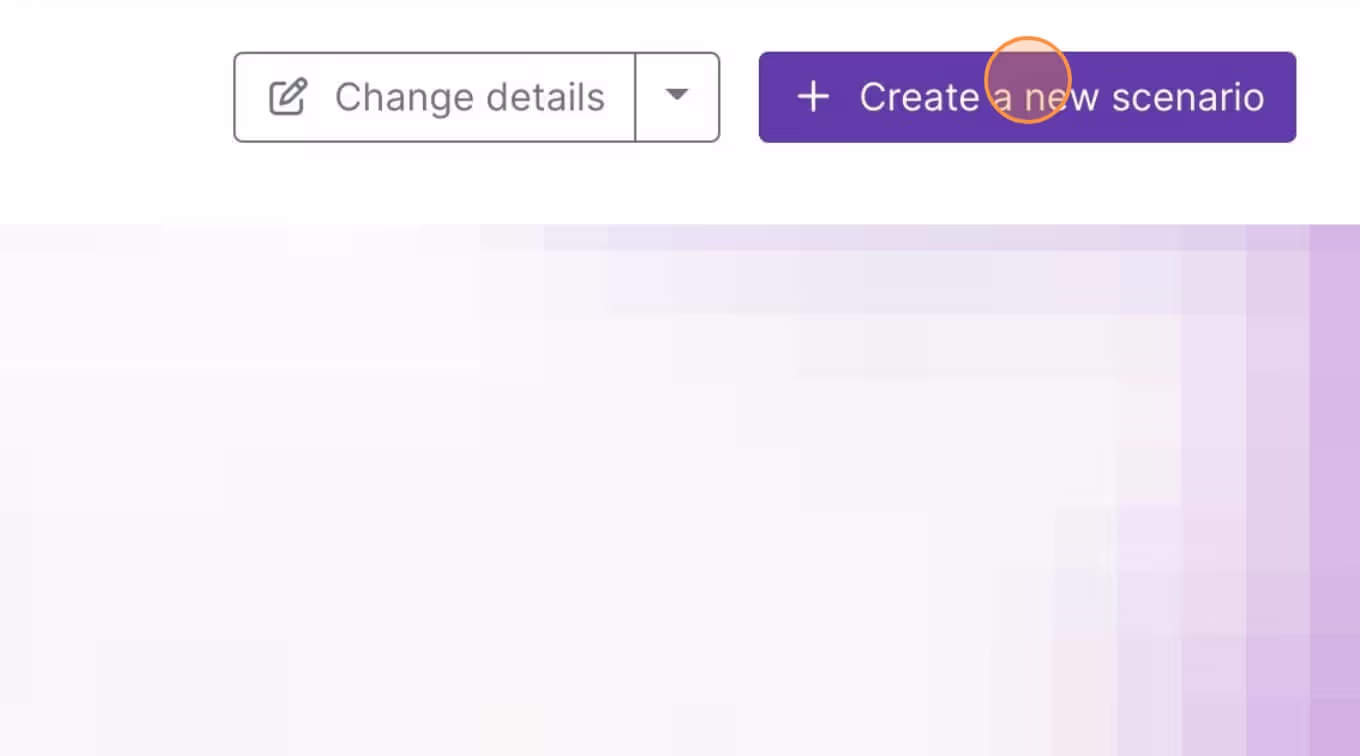
2. Navigeer naar Make.com en maak een nieuw scenario...
3. Klik op het kleine vakje met 3 stippen en vervolgens op Import Blueprint...
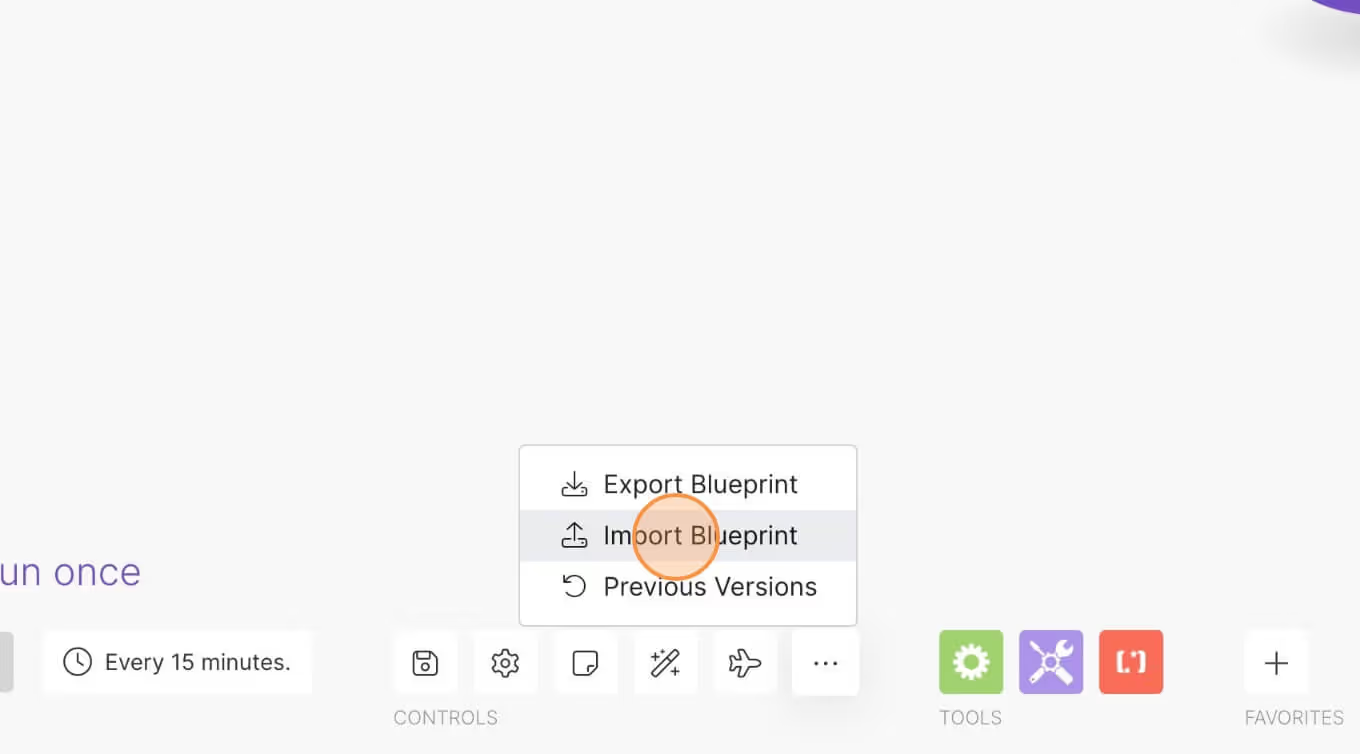
4. Upload je bestand en voila! Je bent klaar om je eigen accounts te koppelen.
Hulp nodig met deze MemberScript?
Alle Memberstack-klanten kunnen om hulp vragen in de 2.0 Slack. Houd er rekening mee dat dit geen officiële functies zijn en dat ondersteuning niet kan worden gegarandeerd.
Word lid van de 2.0 SlackAuth & betalingen voor Webflow sites
Voeg logins, abonnementen, gated content en nog veel meer toe aan uw Webflow site - eenvoudig en volledig aanpasbaar.
.webp)

"We've been using Memberstack for a long time, and it has helped us achieve things we would have never thought possible using Webflow. It's allowed us to build platforms with great depth and functionality and the team behind it has always been super helpful and receptive to feedback"


"Been building a membership site with Memberstack and Jetboost for a client. Feels like magic building with these tools. As someone who’s worked in an agency where some of these apps were coded from scratch, I finally get the hype now. This is a lot faster and a lot cheaper."


"One of the best products to start a membership site - I like the ease of use of Memberstack. I was able to my membership site up and running within a day. Doesn't get easier than that. Also provides the functionality I need to make the user experience more custom."

"My business wouldn't be what it is without Memberstack. If you think $30/month is expensive, try hiring a developer to integrate custom recommendations into your site for that price. Incredibly flexible set of tools for those willing to put in some minimal efforts to watch their well put together documentation."


"The Slack community is one of the most active I've seen and fellow customers are willing to jump in to answer questions and offer solutions. I've done in-depth evaluations of alternative tools and we always come back to Memberstack - save yourself the time and give it a shot."

Need help with this MemberScript? Join our Slack community!
Word lid van de Memberstack community Slack en stel uw vragen! Verwacht een snel antwoord van een teamlid, een Memberstack expert of een mede-communitylid.
Word lid van onze Slack


.png)

