Use custom modals to urge your visitors to get a paid account!
Het Make.com-scenario maken
1. Download de JSON blauwdruk hieronder om het te leren.
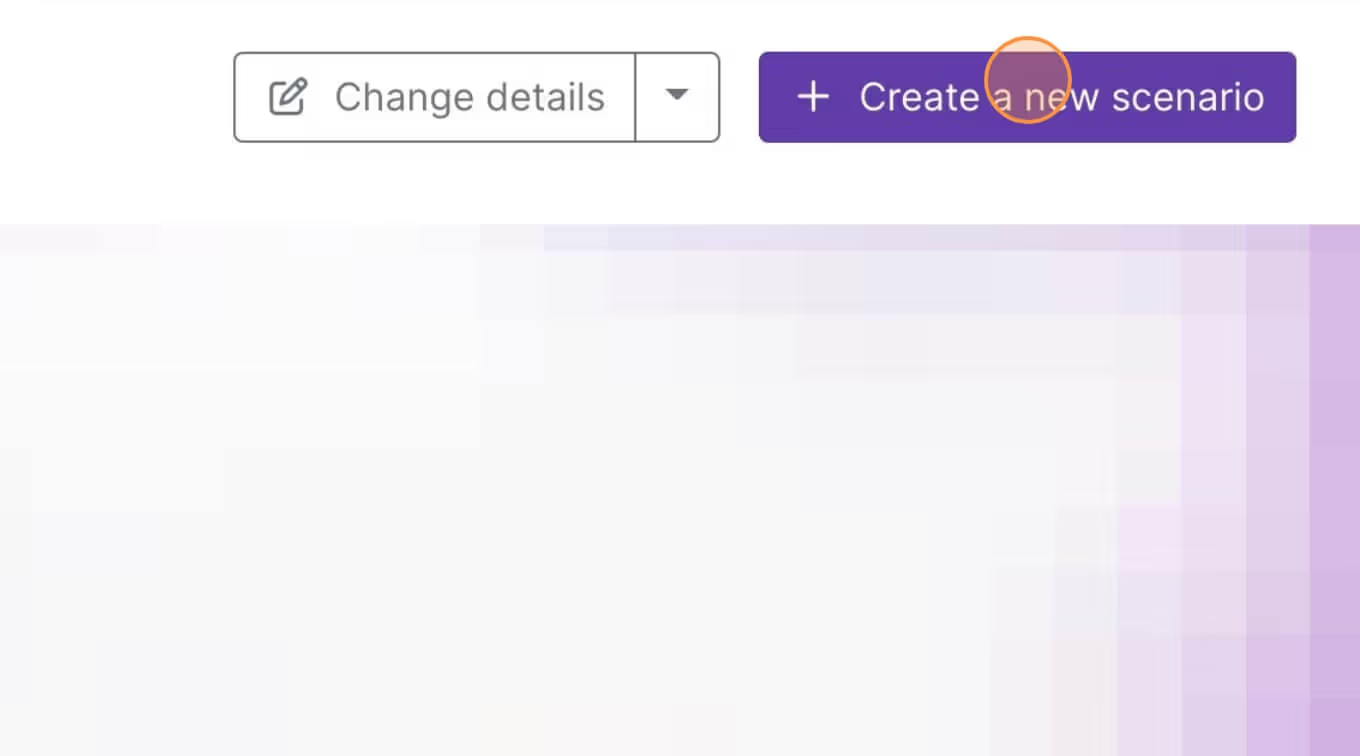
2. Navigeer naar Make.com en maak een nieuw scenario...

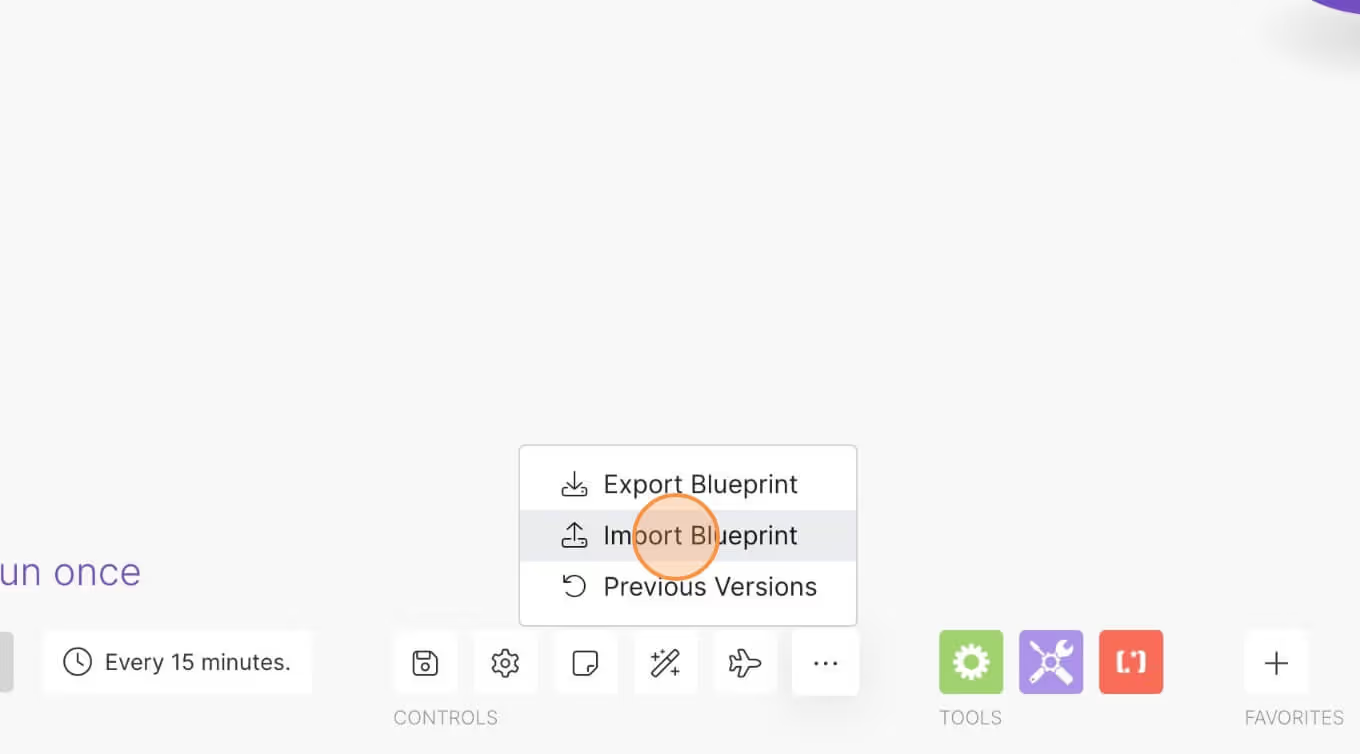
3. Klik op het kleine vakje met 3 stippen en vervolgens op Import Blueprint...

4. Upload je bestand en voila! Je bent klaar om je eigen accounts te koppelen.
Hulp nodig met deze MemberScript?
Alle Memberstack-klanten kunnen om hulp vragen in de 2.0 Slack. Houd er rekening mee dat dit geen officiële functies zijn en dat ondersteuning niet kan worden gegarandeerd.
Word lid van de 2.0 SlackHow to Gate Content with Custom Modals in Webflow: A Step-by-Step Guide
Hello there! Are you looking to enhance your website's user experience by gating content with custom modals? You're in the right place! This tutorial will guide you through the process, as demonstrated in the video "How To Gate Content With Custom Modals In Webflow".
What is Gating Content with Modals?
Gating content with modals is a popular feature on many websites. It allows you to show users that certain features exist, but they need to sign up or log in to access them. This is a great way to encourage visitors to upgrade their plan or sign in.
Step-by-Step Guide
Step 1: Understand the Elements
In Webflow, you'll be working with two main elements: a button and a custom modal. The button allows users to interact with your content, and the custom modal pops up when a non-logged-in visitor clicks on a members-only item.
Step 2: Apply Attributes
Apply an attribute to the button: ms-code-gate-modal-trigger. The value for this attribute is a placeholder (for example, "X"). This attribute is crucial for triggering the modal.
Next, apply an attribute to the outer layer of the custom modal: ms-code-gate-modal-box. The value for this attribute should match the value you used for the button attribute (in this case, "X"). This attribute is essential for linking the button to the correct modal.
Step 3: Customize Your Modal
You can customize the content of your modal to suit your needs. For example, you can include links to a sign-up page or any other relevant information.
Step 4: Hide Your Modal
Before you publish your website, make sure to hide your modal. Also, note that the script sets the modal to flex, which is a common practice for centering everything inside the modal.
Step 5: Implement Memberscript 26
Paste in Memberscript 26 into your Webflow project. You don't need to change anything here unless you're using a different display property (like block instead of flex).
Step 6: Adjust for Links
If your button links to another page, you'll need to adjust the script to prevent the link from interfering with the modal. You can do this by uncommenting certain lines in the script.
Step 7: Remove Unwanted Attributes
If you have custom attributes that you want to remove, you can do so by copying and pasting a specific line of code from the script.
And that's it! You've successfully gated content with custom modals in Webflow.
Conclusie
Gating content with custom modals is a powerful way to enhance your website's user experience. With just one script and two attributes, you can create a more engaging and personalized experience for your visitors. If you encounter any issues, don't hesitate to reach out for help. Happy coding!
For more detailed instructions, you can watch the full video tutorial here.
Auth & betalingen voor Webflow sites
Voeg logins, abonnementen, gated content en nog veel meer toe aan uw Webflow site - eenvoudig en volledig aanpasbaar.
.webp)


.png)
